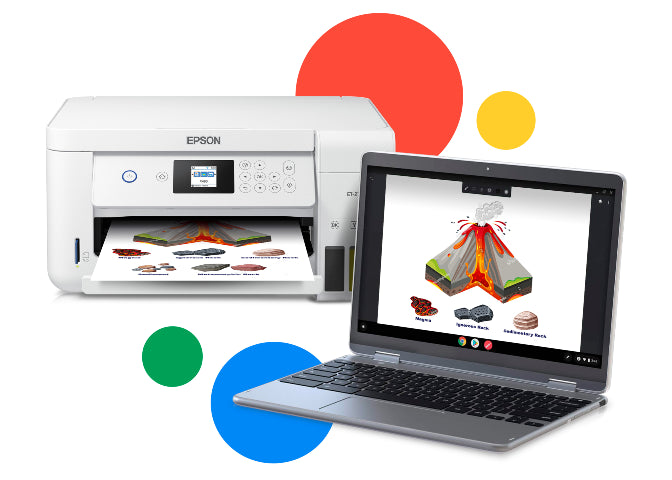
Chrome books are now the norm for students while attending school, and while they are a great resource for students to work and learn from they can be a bit tricky to print from. So this is just a quick step by step guide on how to print from your chrome book to your printer.
Firstly your printer has to be Chrome book or Google Cloud account compatible. A lot of wireless printers have this set up automatically such as the Canon Maxify range of printers or the Brother MFCJ470DW.
To check if your printer is compatible with printing from a Chrome Book,check this link here:
https://www.google.com/cloudprint/learn/printers.html
Once you know if your printer is ready to print from your chrome book we move on to the step by step guide on how to print….
- After connecting your printer to Cloud Print, you're ready to start printing from your Chromebook.
- You can either select File, then ‘Print’ in the menu, or use the shortcut of Ctrl + P.
- The print dialogue box will pop up.
- Click on the link at the bottom of the screen that says "Print with Google Cloud Print…." Or alternatively you can use Ctrl + Shift + P to open the Cloud Print dialogue directly.
- A list will pop up of available printers to pick from. Select your printer, adjust any printing settings that need to be adjusted, and then click ‘print’.
You should be up and printing now with ease so you can those pesky assignments finished for school. For more assistance check out the Google Help Page hyperlinked Here
To make sure you get the most value from your printer you should also make sure to check if we have compatibles available for your model. You can do this by popping your printer model number into our search bar. It should bring up a picture of your printer, simply click on this and you will get a full list of all available inks for your model.

